Google Authenticator
It offers multi-factor authentication services that utilize time-based one-time passwords and HMAC-based one-time passwords to verify the identity of application users.
Here's how you do it
1 Go to Dashboard > Authentication > MFA.
2 Click on + ADD FACTOR.
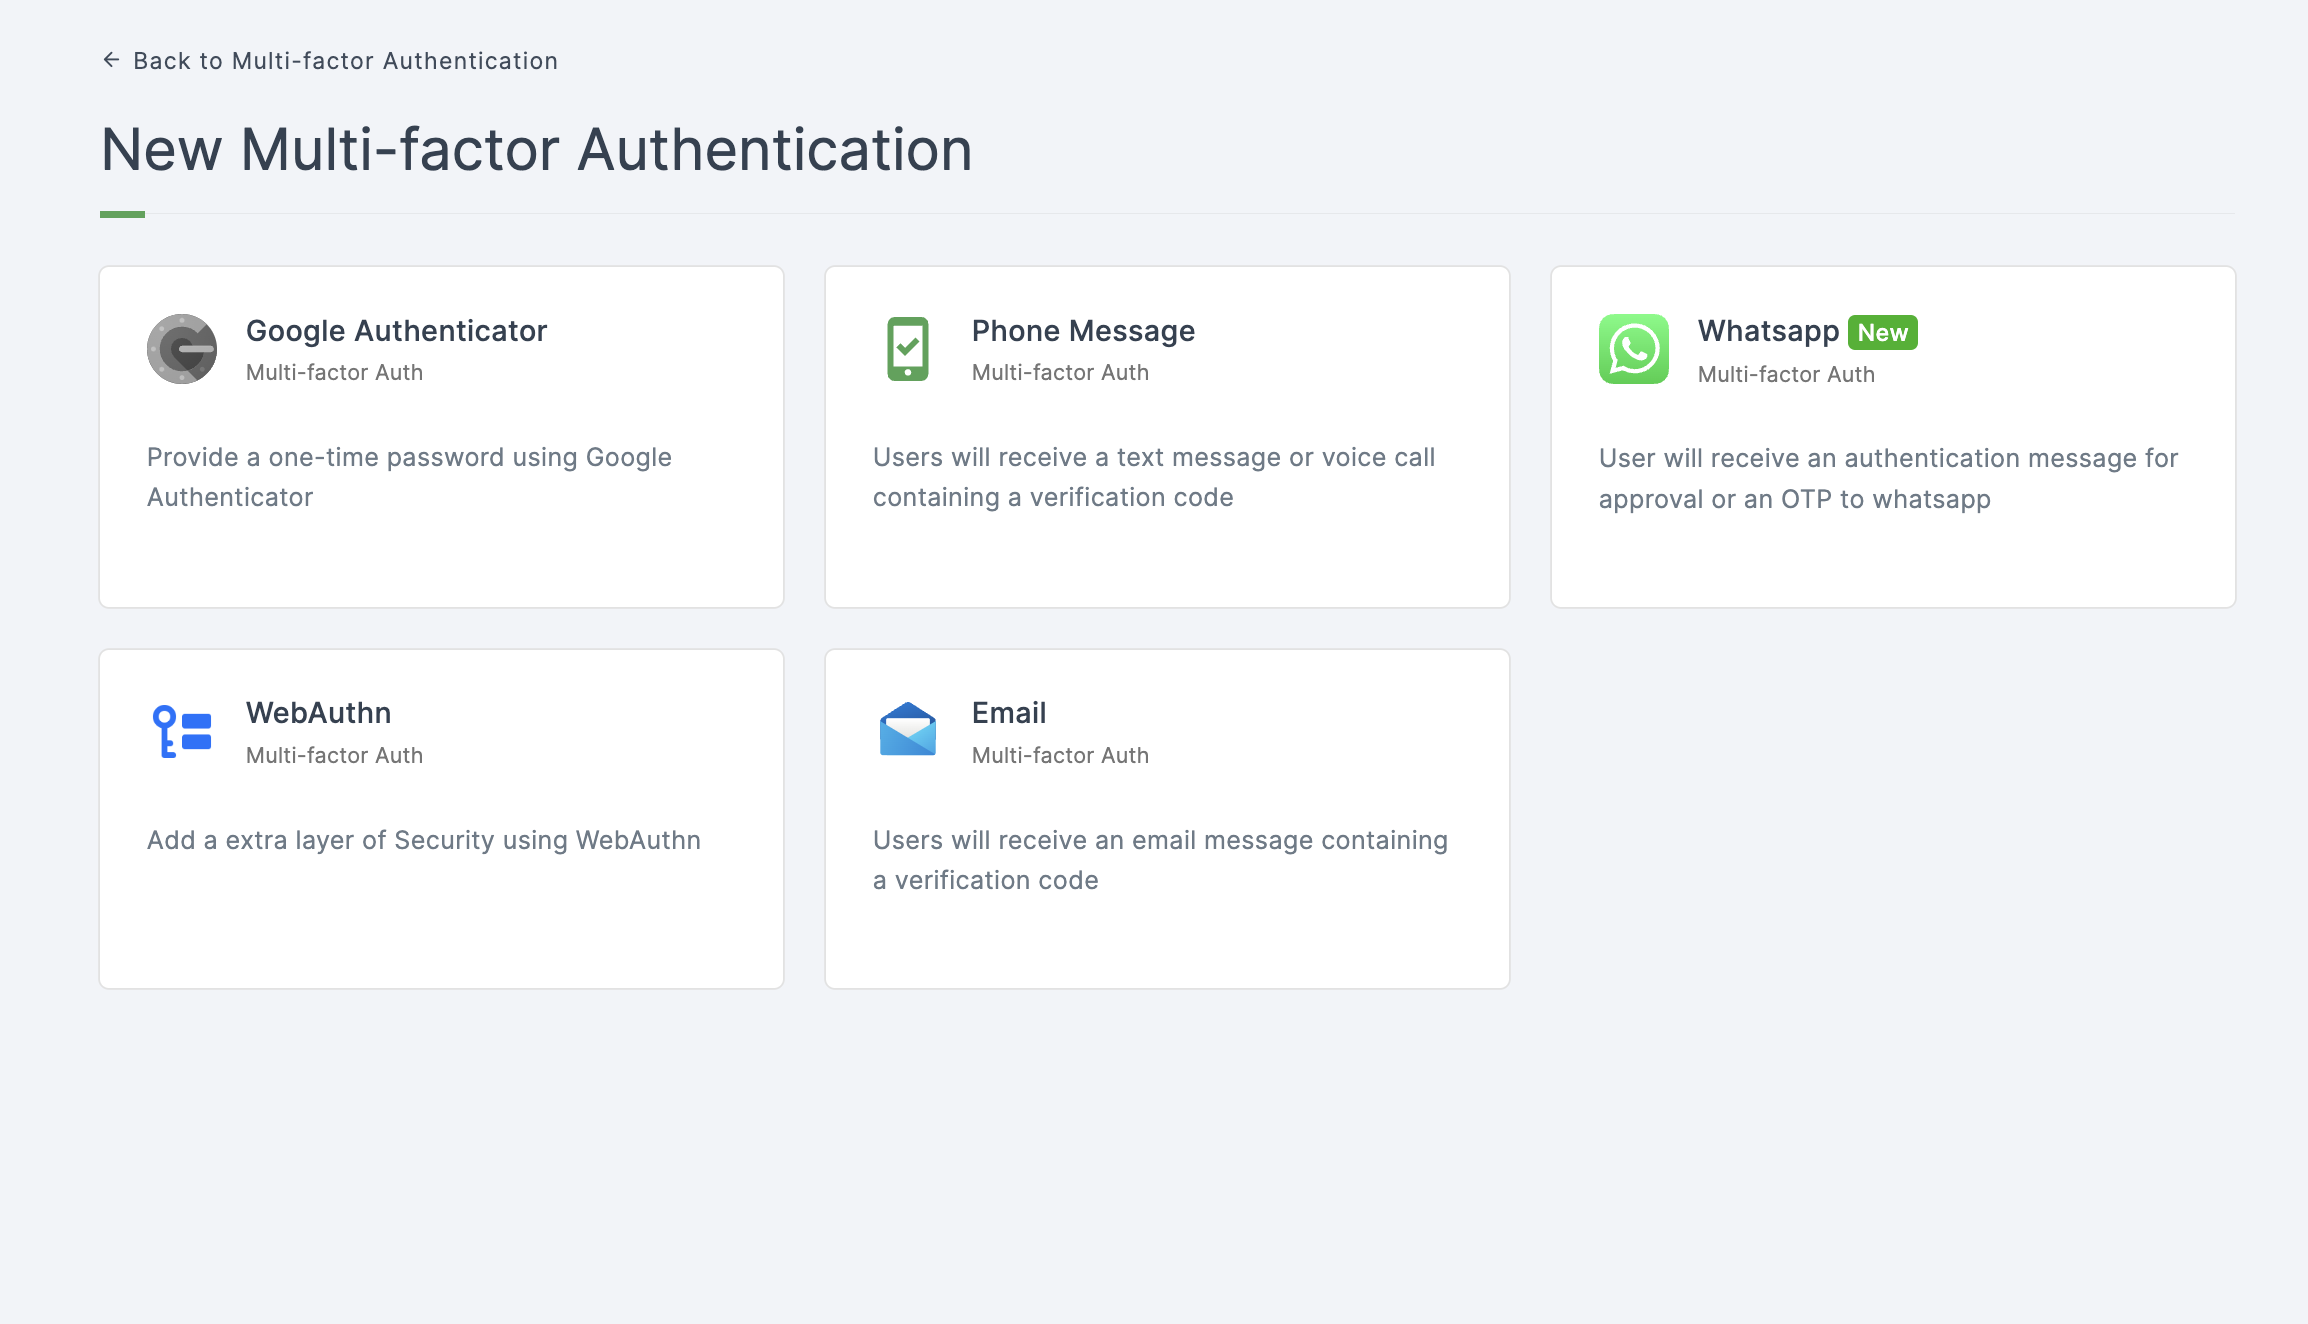
3 You will be redirected to the multi-factor authentication (MFA) providers page, where you can view all the pre-installed MFA options that are available.

4 Click on Google Authenticator.
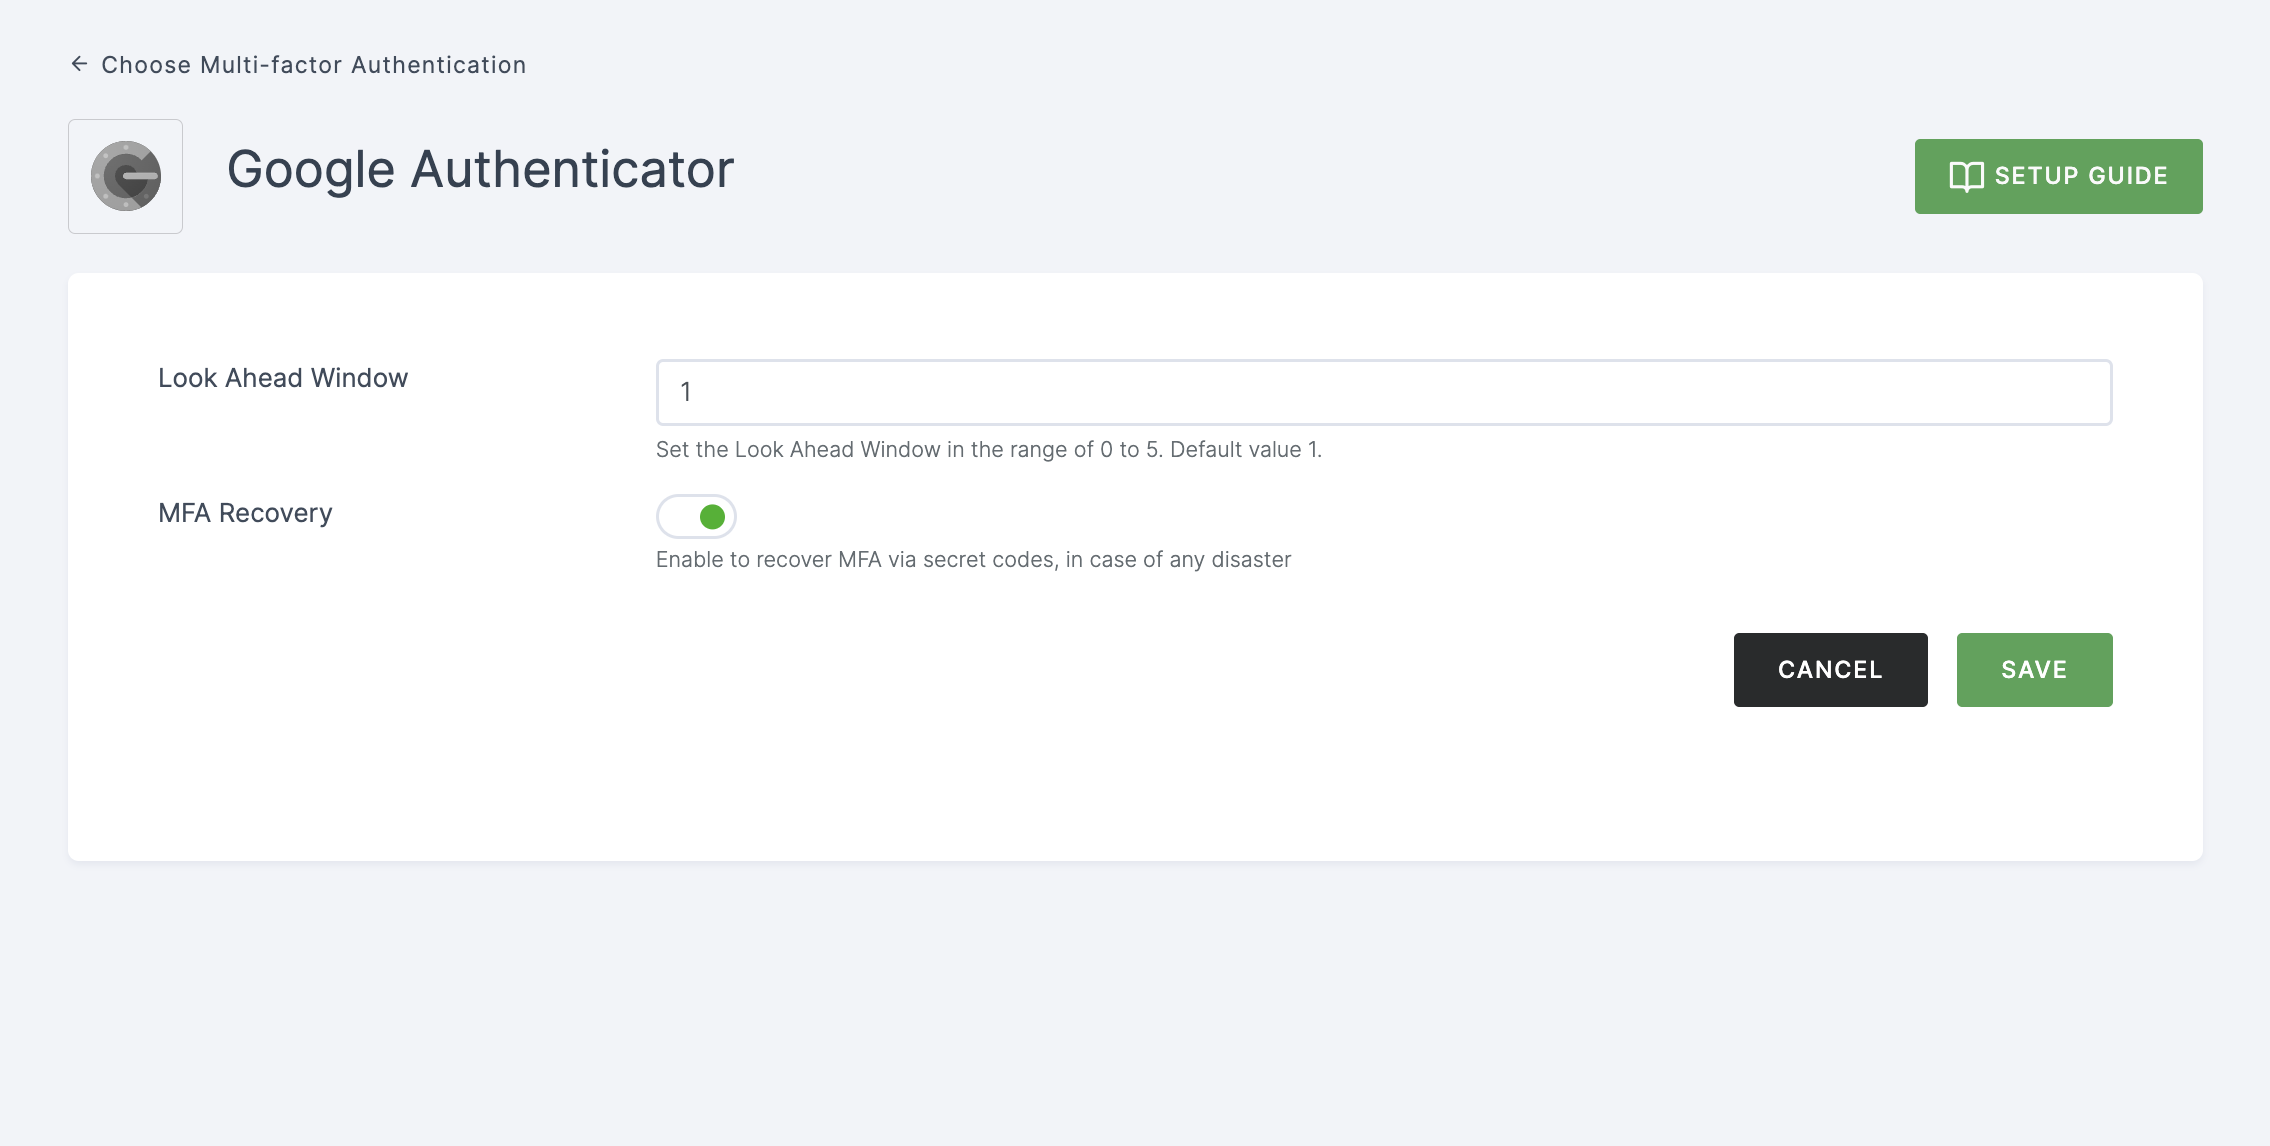
5 You will be directed to the configuration page for the chosen MFA method.

Configuration
| Attribute | Description |
|---|---|
| Look Ahead Window | This attribute determines how far ahead the server should anticipate in case there is a time or counter sync issue between the token generator and the server. The default value is 1. |
| MFA Recovery | Enabling this option allows you to recover multi-factor authentication (MFA) using secret codes, which can help you regain access to your account in the event of a disaster or account lockout. |
6 Provide the necessary configurations and click on SAVE.
7 Moving forward, the subsequent step involves associating the google authenticator MFA flow with the application for execution. If you're looking to understand how to attach an authenticator to an application, see here.
8 To know how to execute an authentication flow, see here.